
Last updated August 27, 2026
Free in-home measure and quote - PGT, CGI and CWS impact lines compared on your actual openings, style by style



 Before
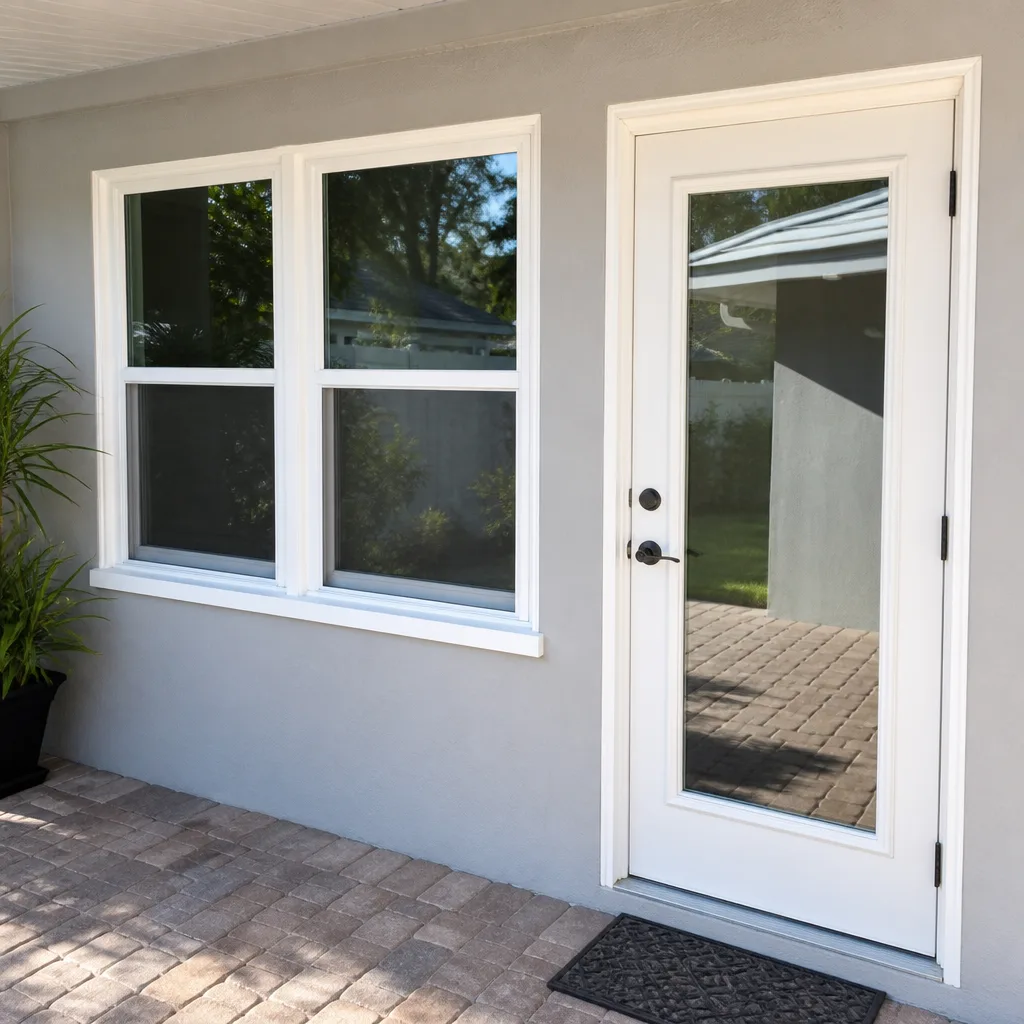 After
After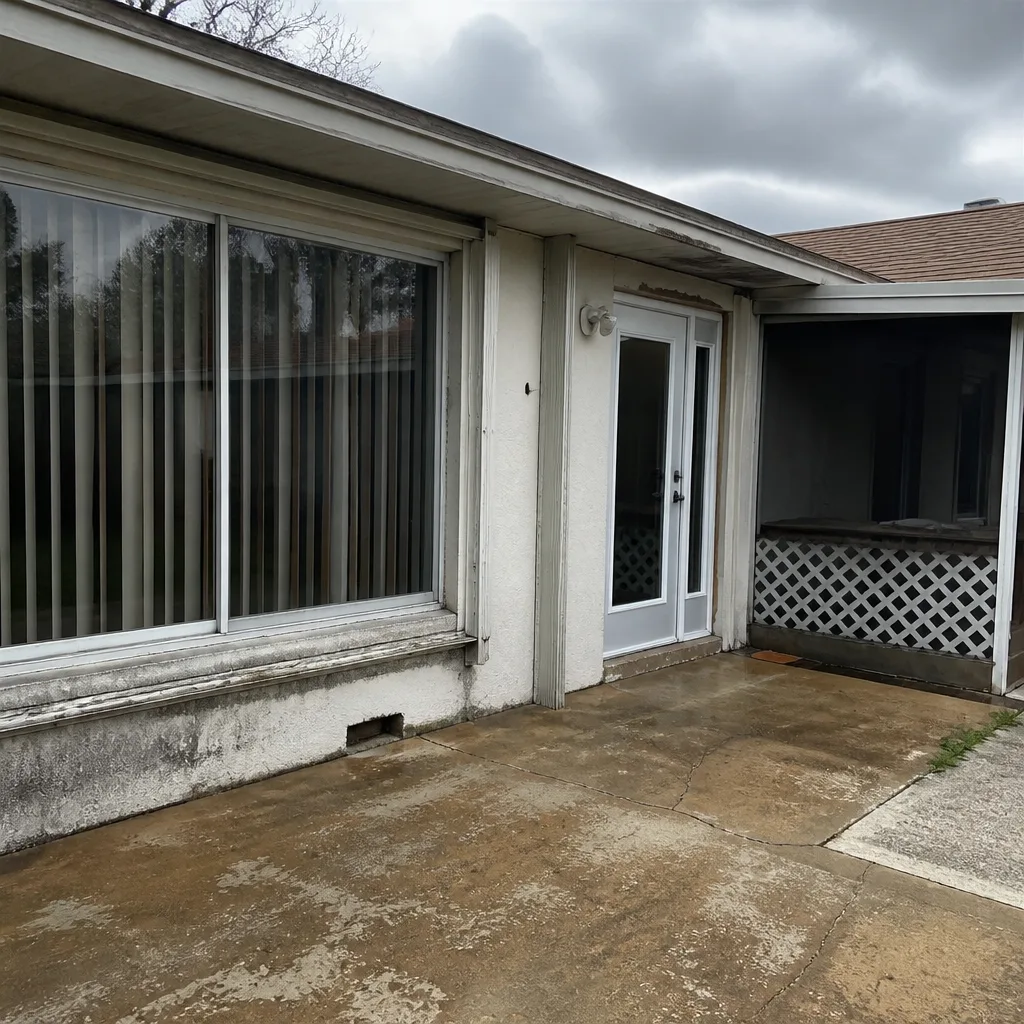 Before
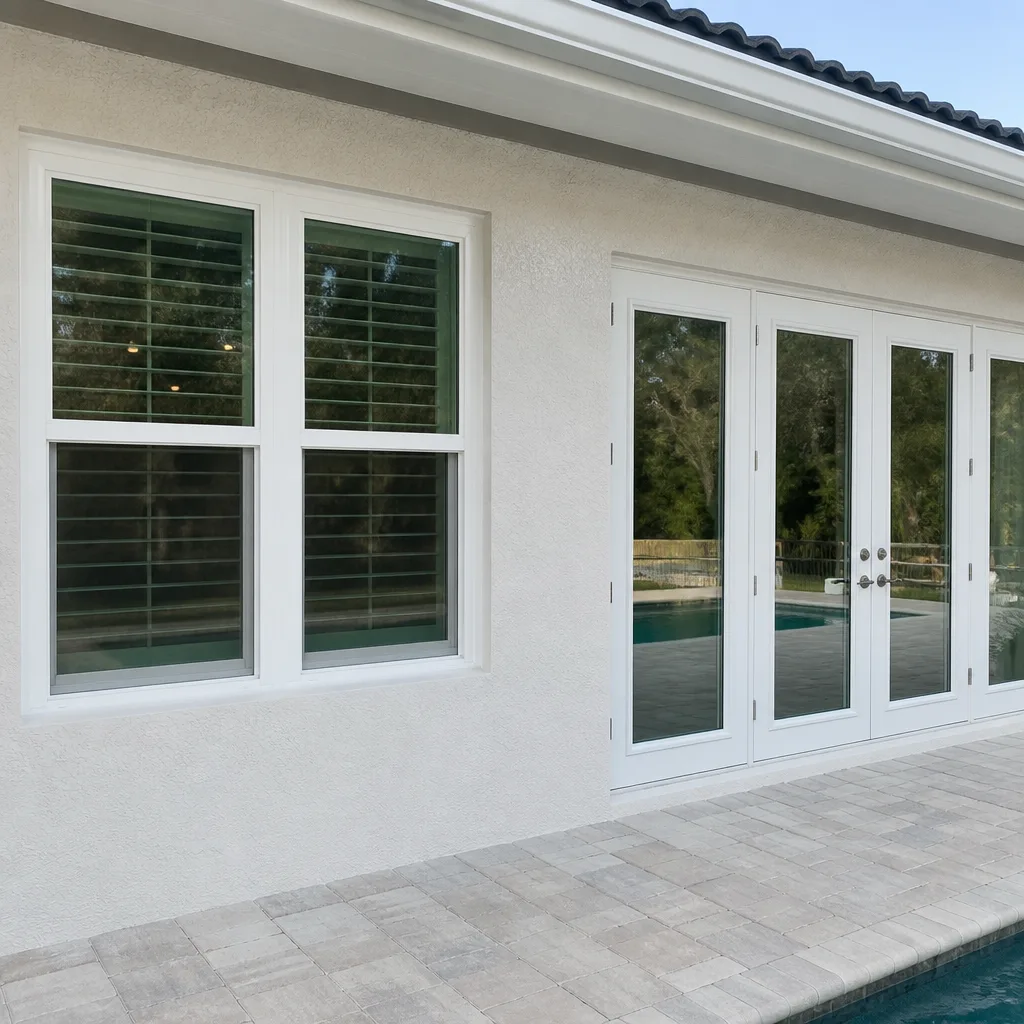 After
After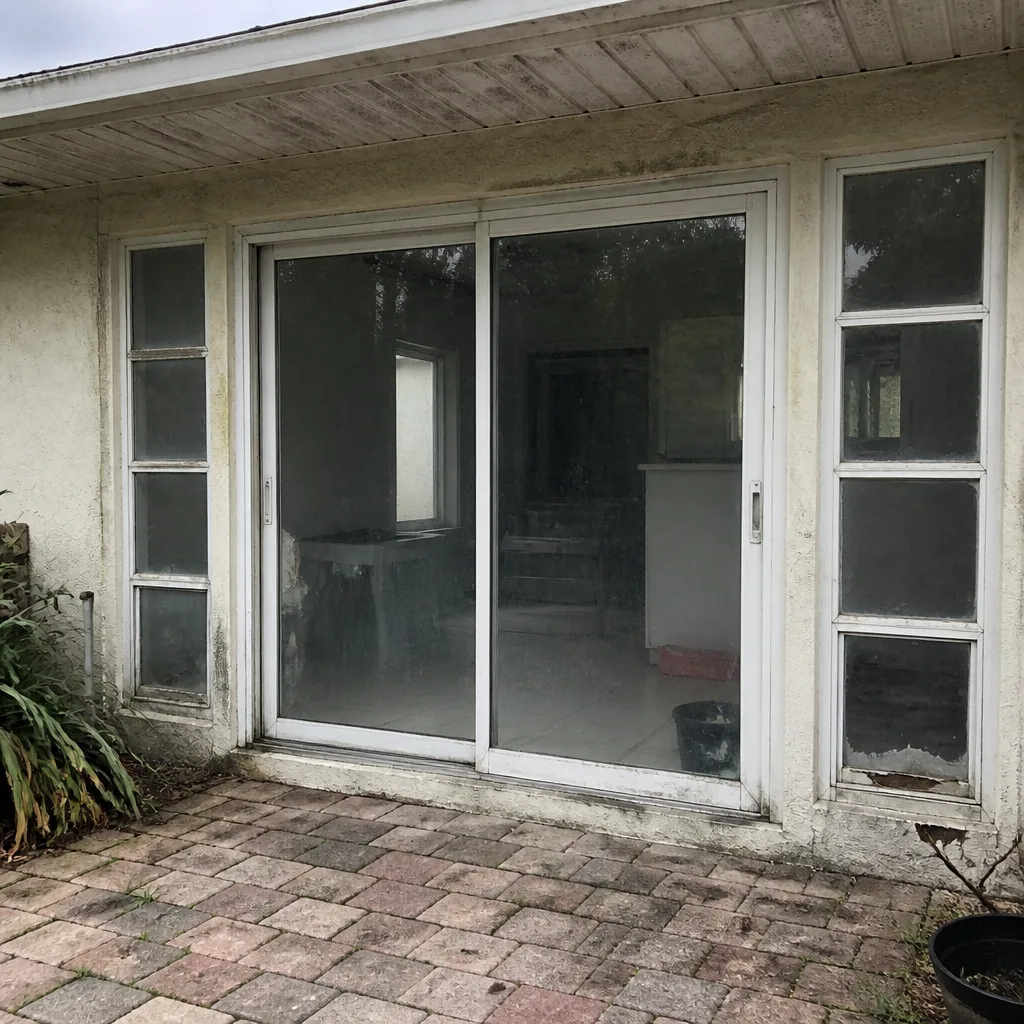 Before
 After
AfterImpact Windows Maintenance Checklist for Tampa Homeowners
Most Tampa homeowners believe impact windows are a zero-maintenance product. That belief is expensive. Your impact window warranty almost certainly contains a maintenance clause buried on page 4 or 5, and “failure to maintain weep holes and sealant” is the single most common reason manufacturers deny claims after hurricane damage. A $15,000 to $30,000 window package should last 20 to 30 years in Tampa’s climate, but skipped maintenance quietly cuts that lifespan by a decade. This guide-along with our Seasonal Windows & Doors Care for Tampa: Year-Round Homeowner’s Guide-gives you the exact six-point annual routine, the right cleaning chemistry, hardware-specific lubrication intervals, and the post-storm inspection protocol that keeps PGT and CGI systems performing at spec.
Quick Answer
Impact window maintenance in Tampa comes down to six tasks: cleaning weep holes and tracks every 3 to 4 months, inspecting and re-caulking exterior sealant annually, testing glazing compound integrity each spring, lubricating hardware every 6 to 12 months depending on brand, using ammonia-free cleaners on low-E glass, and performing a 10-minute post-storm walk-around after any named storm or severe thunderstorm. The full routine takes under two hours per year and protects both your warranty and your investment.
Table of Contents
- Weep Hole Cleaning: Tampa’s Pollen and Sand Season Demands a Schedule
- Exterior Sealant Inspection: The First Line of Defense
- Glazing Compound Integrity: The Six-Month Warning Signs
- Low-E Glass Cleaning Chemistry: What Tampa Homes Get Wrong
- Hardware Lubrication: PGT WinGuard vs. CGI Series 100
- Post-Storm Inspection Protocol: The 10-Minute Walk-Around
- Common Mistakes to Avoid
- When to Call a Professional
- Frequently Asked Questions
- The Bottom Line
Weep Hole Cleaning: Tampa’s Pollen and Sand Season Demands a Schedule
Weep holes are the small drainage openings at the bottom exterior edge of your window frame. They let rainwater that seeps past the sash drain out instead of pooling inside the frame. When they clog, water backs up, saturates the frame, and eventually finds its way into your wall cavity or interior sill. In Tampa, the clogging schedule is predictable: pollen from live oaks and pines peaks from February through April, and Saharan dust layers arrive from late June through August. If you live near Bayshore Boulevard or any canal-front neighborhood in South Tampa, add salt spray to that mix.
Most installers never mention weep holes at the close of a sale. We consider them the single most overlooked maintenance point we see across Tampa, from Carrollwood to Riverview.
How to Clean Weep Holes
- Locate the weep holes on the exterior bottom edge of each window frame. Most frames have two to four.
- Use a small bottle brush, pipe cleaner, or a can of compressed air to clear debris from each opening.
- Fill a cup with water and pour it slowly into the bottom track. If water drains out the weep holes freely, they’re clear.
- If water pools and doesn’t drain, use a thin wire or an unfolded paperclip to gently push the blockage out from the exterior side inward.
- Repeat every 3 to 4 months, with extra attention from March through May during peak pollen season.
A Tampa-specific tip: if you park under a live oak or have pine trees within 30 feet of your house, check weep holes monthly from March through June. The pollen load in neighborhoods like Seminole Heights and Forest Hills is heavy enough to clog weep holes in 30 days flat.
Exterior Sealant Inspection: The First Line of Defense
The sealant bead around your window’s exterior perimeter is what keeps wind-driven rain from getting behind the frame. In Tampa’s climate, exterior sealant takes a beating from three directions: intense UV exposure, salt air near the coast, and the thermal expansion and contraction of 90-degree summer days followed by 50-degree winter nights. A sealant failure of just a quarter inch is enough to let water behind the frame during a 60-mph tropical storm gust.
Walk around your house once a year with a simple visual checklist. Look for any gap between the sealant and the stucco, siding, or block. Look for cracks running along the bead itself. Look for any area where the sealant has pulled away from the frame, which you’ll spot as a thin dark line or a soft, spongy section when pressed.
Annual Sealant Inspection: What to Check
- Gaps wider than 1/16 inch anywhere along the perimeter bead
- Crazing or hairline cracks in the sealant surface
- Sealant that has turned chalky, crumbly, or brittle to the touch
- Areas where the bead has separated from the frame or the wall
- Discoloration or dark staining behind the sealant, which indicates trapped moisture
Tampa homeowners in waterfront neighborhoods such as Davis Islands, Harbour Island, and Beach Park should inspect sealant twice a year. Salt air accelerates sealant degradation measurably. A bead that fails in five years inland often fails in three years within half a mile of Tampa Bay. If you find failing sealant, the fix is straightforward: remove the old bead, clean the joint, and apply a high-quality exterior-grade sealant rated for the specific materials on your home. Do not caulk over old caulk; it never bonds properly.
Glazing Compound Integrity: The Six-Month Warning Signs
Glazing compound is the material that seals the glass pane to the frame and keeps water out of the sash itself. On older wood windows, it’s putty. On modern impact windows from brands like PGT and CGI, it’s a structural silicone or butyl material. Either way, it degrades on a predictable schedule in Florida’s heat and humidity. The key skill for a homeowner is recognizing when the glazing is entering its final six months of service life, because that gives you time to schedule re-glazing before water intrusion actually happens.
Visual Cues That Signal Re-Glazing Is 6 Months Away
- The glazing bead has shrunk away from the glass, leaving a visible hairline gap around one or more edges
- The material has started to flake or peel at the corners
- You see hairline fissures in the glazing surface that weren’t there last year
- The glazing has shifted from flexible to rigid and brittle when you press a fingernail into it
- Condensation appears inside the window between panes on humid mornings, then disappears by midday
You can test glazing integrity without any tools. Press your thumb firmly against the glazing bead at each corner of the window. The material should feel slightly pliable, with a rubbery give. If it feels hard like plastic and shows any cracking, you’re looking at a window that needs attention within the next season. A window whose glazing has fully failed will often feel loose at the sash when you push on the glass from inside. That’s a red flag that means water is already getting where it shouldn’t.
Low-E Glass Cleaning Chemistry: What Tampa Homes Get Wrong
The low-E coatings on modern impact windows are applied at the molecular level, typically as a microscopically thin metallic oxide layer on the interior-facing surface of the outer glass pane. These coatings reflect infrared heat while allowing visible light through, which is why your energy bill drops after you upgrade from single-pane. But the coating is fragile in one specific way: it etches permanently when exposed to ammonia or high-alkaline cleaners.
Here’s the problem. The most common glass cleaners in American homes are ammonia-based. Windex Original, many generic store-brand formulas, and a surprising number of “outdoor window cleaners” contain ammonia. When ammonia touches a low-E coating repeatedly over months and years, it creates microscopic pitting that gradually degrades the coating’s reflectivity. The glass starts out looking fine, and then over a period of two to five years, you notice rooms heating up faster in the afternoon, the air conditioner cycling more often, and a faint haze on the glass that won’t wash off. By the time you see the haze, the coating is permanently damaged and the window’s energy performance is compromised.
Safe Cleansers for Low-E Impact Glass
- Plain water with a few drops of dish soap
- Vinegar diluted 50/50 with distilled water
- Commercially available ammonia-free glass cleaners, such as Sprayway or Invisible Glass
- Microfiber cloths rather than paper towels, which can leave lint and micro-scratches on coated surfaces
Also avoid razor blades or any metal scraper on low-E glass. The coating can be scratched off in a single careless pass. If you have paint, sticker residue, or stubborn grime on the glass, use a plastic scraper and soapy water, then finish with an ammonia-free glass cleaner. Tampa’s hard water adds another variable: mineral deposits from irrigation overspray can etch glass over time, especially on windows near sprinkler heads. Address those deposits with a vinegar solution sooner rather than later.
Hardware Lubrication: PGT WinGuard vs. CGI Series 100
Impact window hardware is not all the same. The locking mechanisms, hinge systems, and roller assemblies on PGT WinGuard windows are engineered differently from those on CGI Series 100 products, and the lubrication intervals differ accordingly. Treating them as interchangeable is how homeowners end up with stiff cranks, stripped handles, and locking points that no longer engage fully.
PGT WinGuard hardware typically uses multi-point locking systems with stainless steel or zinc-plated internal components. The springs and detents inside the lock bodies benefit from lubrication every 6 months. In Tampa’s humidity, metal-on-metal surfaces inside lock bodies develop oxidation faster than you’d expect, especially on windows that face the water. A dry lock mechanism is the number-one reason a window won’t securely engage, which matters when you consider that the lock is part of what holds the sash in place during a wind event.
CGI Series 100 hardware generally uses stainless steel rollers and spring-balanced sashes. The rollers sit in tracks at the bottom of the frame, and those tracks collect sand, salt, and pollen. The recommended interval for the rollers is every 12 months, but the tracks themselves should be vacuumed every time you clean the weep holes. A gritty track will grind down a roller over time, and a worn roller makes the sash drag, which makes the user push harder, which eventually damages the frame.
What to Use and How
- Use a dry silicone spray or a light machine oil. Avoid WD-40, which attracts dust and gums up over time.
- Apply lubricant directly to moving parts: lock cylinders, hinge pins, roller bearings, and crank mechanisms.
- Operate the window open and closed three or four times after lubricating to distribute the lubricant evenly.
- Wipe away any excess with a clean cloth. Excess lubricant on the track will trap sand, which creates a grinding paste.
If you’re not sure which hardware system is on your windows, look for a small engraved marking on the lock face or the sash edge. PGT stamps their WinGuard line clearly. CGI marks the Series 100 with a visible designation inside the track channel. If you can’t identify your window hardware, a professional from a Tampa window replacement company who works with these systems every week can tell you in about 30 seconds.
Post-Storm Inspection Protocol: The 10-Minute Walk-Around
Impact windows are tested to withstand impacts and pressure cycles that ordinary windows can’t survive. But no window is indestructible, and a direct hit from debris at 100 mph can create damage that is invisible to the untrained eye but will fail catastrophically in the next major wind event. The good news is that a focused 10-minute walk-around after any named storm or severe thunderstorm with wind gusts over 50 mph will catch almost all of these issues early.
The 10-Minute Walk-Around Protocol
- Check every pane for micro-fractures. Start at one corner of each pane and scan across in a grid pattern. Look for hairline spider-web patterns, which are stress fractures radiating from an impact point. Use a flashlight at an angle in low light; fractures show up more clearly when the light catches them obliquely.
- Inspect all four frame corners. Look for cracks in the frame material itself, which can appear in vinyl or aluminum after extreme pressure cycling. Any crack, no matter how small, is a structural concern.
- Open and close every operable window. A window that binds, drags, or won’t open smoothly after a storm may have a distorted frame. That distortion, even at fractions of an inch, compromises the window’s seal during the next wind event.
- Re-check your weep holes. Storms drive debris into those openings. A quick check with compressed air takes 10 seconds per window and is worth doing after every storm.
- Look at the interior drywall around each window. Any new water staining, softness, or bubbling paint means water penetrated during the storm, even if the window itself looks fine.
- Test the locking mechanisms. Locks that tightened, loosened, or changed resistance during the storm need inspection. A misaligned lock is often the first sign of frame distortion.
Make a note of anything you find, even if it seems minor. Photograph it with your phone. If the damage progresses between storms, having a baseline record from right after the storm is invaluable, and it helps if you need an impact windows expert in Tampa to assess whether a repair or replacement is warranted.
Common Mistakes to Avoid
- Using ammonia-based glass cleaner on low-E glass. This is the single most common maintenance mistake we see in Tampa homes. The coating etches permanently after repeated exposure, and by the time you notice the haze, the damage is done. Switch to an ammonia-free product today.
- Ignoring weep holes entirely. Most homeowners don’t know they exist. In Tampa’s pollen season, that ignorance translates to clogged weep holes and trapped water inside window frames within a single spring.
- Caulking over old, failing sealant. New caulk needs clean, solid substrate to bond to. Old caulk is neither. The correct fix is always removal, cleaning, then reapplication.
- Lubricating impact window hardware with WD-40. WD-40 is a solvent, not a lubricant, and it leaves a residue that traps sand and pollen. Use a dry silicone spray instead.
- Treating storm damage as “minor” and deferring inspection. A hairline fracture in an impact window is a structural time bomb. The next Category 2 winds will find that weak point and exploit it.
- Assuming the window warranty covers everything. Read your warranty document. Specifically, read the maintenance section. Most manufacturers require proof of annual inspection and maintenance for claims to be honored.
When to Call a Professional
Some maintenance tasks belong in the hands of a trained technician. If you find any structural damage during your walk-around, such as a crack in the frame, a fractured pane, or a window that no longer opens and closes properly, call a professional rather than attempting a repair yourself. The same applies to failed sealant joints, which require precise material selection and application to restore the weather seal. If your glazing compound has reached the six-month warning stage, re-glazing is straightforward for a qualified installer but difficult to do correctly without experience. Winslow Windows & Doors offers our Impact Windows services with free estimates in Tampa; call (386) 559-6999 to schedule an inspection. We serve every Tampa neighborhood, and we inspect impact windows from all major brands, including PGT and CGI systems we installed ourselves and those installed by other companies.
Frequently Asked Questions
DIY maintenance costs under $50 a year for silicone spray, ammonia-free glass cleaner, and basic tools. Professional inspection and maintenance typically runs $100 to $200 per visit depending on the number of windows. If repairs are needed, such as re-glazing or sealant replacement, expect $150 to $400 per window depending on scope; see our Windows & Doors Cost Breakdown: The Tampa Homeowner’s Reference for 2026 for deeper pricing context. Call (386) 559-6999 for an exact quote, estimates are free.
Clean weep holes every 3 to 4 months, with monthly attention from March through May when Tampa’s oak and pine pollen counts peak. Homes near the water or under heavy tree canopy should check more frequently.
No. Windex Original and other ammonia-based glass cleaners permanently etch low-E coatings on impact windows over time. Use an ammonia-free cleaner, plain soapy water, or a 50/50 vinegar and distilled water solution instead.
Yes. The locking mechanisms and moving hardware on PGT WinGuard windows need lubrication every 6 months, and the roller assemblies on CGI Series 100 windows need attention every 12 months. Use dry silicone spray or light machine oil, never WD-40.
Possibly. Most manufacturer warranties include a maintenance clause that requires owners to keep weep holes clear, sealant intact, and hardware functional. Damage caused by clogged weep holes or failed sealant is typically considered a maintenance failure, not a manufacturing defect, and claims can be denied on that basis.
Check every pane for hairline fractures, inspect all four frame corners for cracks, open and close every operable window to test for frame distortion, re-clear your weep holes, examine interior drywall for new water staining, and test all locking mechanisms. The full walk-around takes 10 minutes. Call (386) 559-6999 if you find anything concerning, we’re happy to help.
The Bottom Line
Impact windows are a long-term investment that Tampa homeowners expect to last two decades or more. The maintenance routine that protects that investment takes under two hours per year: clear the weep holes every quarter, inspect exterior sealant annually, watch for glazing degradation, clean low-E glass with the right chemistry, lubricate hardware on the correct schedule for your specific window system, and do the 10-minute walk-around after every major storm. Skip any of those steps and you’re quietly giving up warranty coverage, window performance, and lifespan. A small annual time investment keeps your windows performing at spec through Florida’s humidity, hurricanes, and heat, and keeps your warranty intact. For related reading, browse our more guides & resources.
If you’re unsure about the condition of your windows or want a professional inspection, call Ed’s team at Winslow Windows & Doors at (386) 559-6999. We’re the one down the road. Explore our Winslow Windows & Doors home page to learn more about us, or read about window installation in Tampa to understand what a proper install looks like.
Written by Ed Winslow, Owner at Winslow Windows & Doors, serving Tampa since 2011.
Six Reasons Homeowners Choose Winslow Windows & Doors
Impact systems engineered to design pressures up to +/-100, matched to your wind zone - your openings hold when the storm arrives.
Low-E insulated impact glass from our manufacturer lines commonly cuts monthly cooling bills 20-30%.
Laminated impact glass shuts out up to 40% of outside noise - traffic, neighbors, weather.
Monitoring services run $30-90 a month. Laminated impact glass resists forced entry around the clock, with no subscription.
Florida homeowners average around 25% savings on the windstorm portion of their policy after protecting every opening - some homes qualify for more.
A full impact package upgrades curb appeal, buyer confidence and appraised value in one project.